
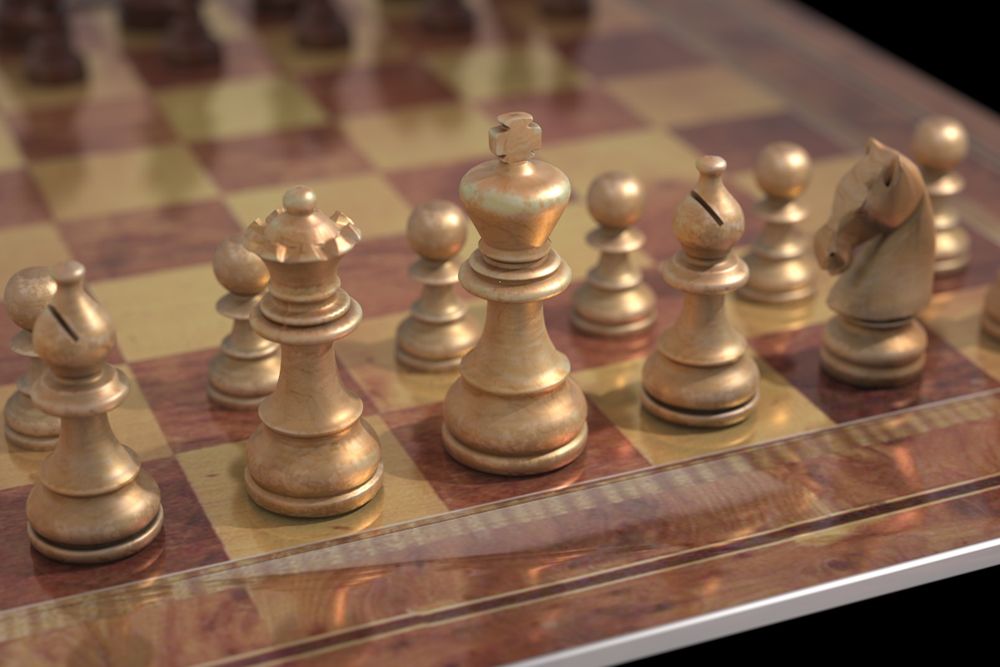
Make chess art with ChessBase 15 raytracing
Want to see your winning combination artfully visualized? ChessBase 15 makes this possible: How about a spectacular camera ride towards the opponent's king, or as a photo motif on your website, coffee cup or T-shirt? With the latest raytracing technology, you have a chance to create amazing chess images with ChessBase 15. Camera perspective and light can be adjusted in nearly infinite ways, resulting in breathtaking views and graphics. Drawing: ChessBase
Raytracing Chess Graphics
ChessBase 15 includes new 3D chess boards that are based on raytracing technology. Processing these graphics requires a lot of computing power but allows you to render brilliant and detailed results with all shadows and reflections. The pieces and the board are amazingly realistic. The raytracing function makes it easy to create wonderful chess illustrations. You can choose from a number of designs: Classic glass, metal green, Tropic Wood, Staunton — there should be something for every taste!
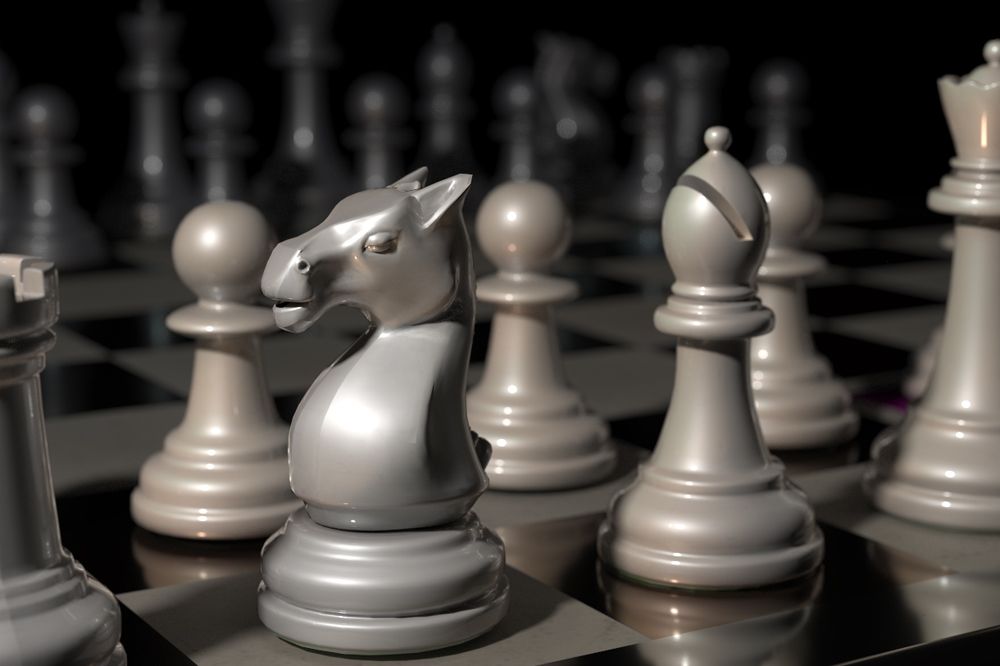
The raytracing feature is a physics-based, CPU-bound raytracer. All properties such as material, light reflection, refraction and absorption are calculated to create a photorealistic image. The faster the CPU (Central Processing Unit) is, the faster photorealistic effects are achieved. ChessBase 15 uses all available cores for the calculations. Each raytracing image is calculated individually in pixels. For this reason, the time needed to calculate an image is also directly related to the resolution. An image with 400 x 400 pixels takes 16 times longer to calculate than an image in 100 x 100 format.
A technical note: The type of raytracing used in ChessBase 15 only uses the CPU (central processing unit), but not the GPU (graphics processing unit).
Here's how it's done
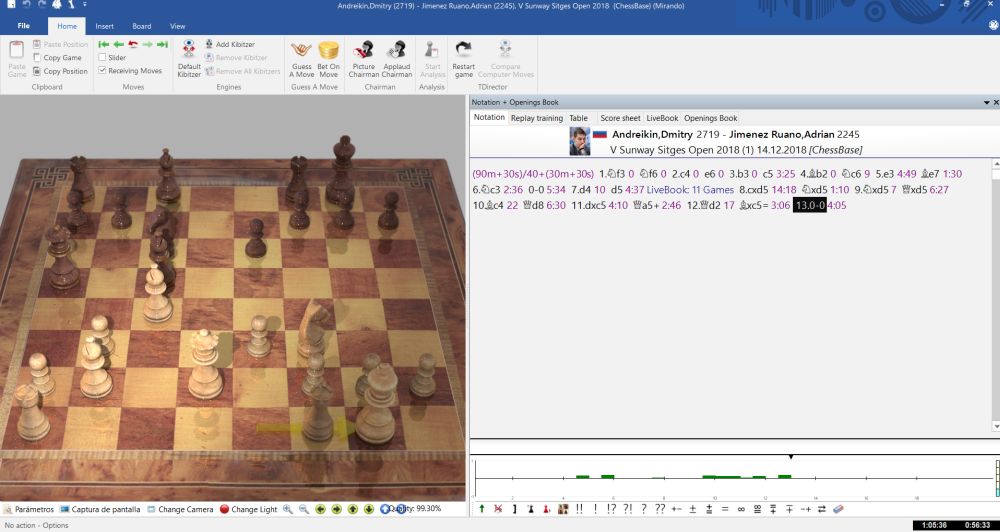
1) Open a game with CB 15.
2) Click on the move in the notation that leads to the position that you want to have!
3) Go to the menu "Board" → "Raytraced board" and select the Raytracing board design:
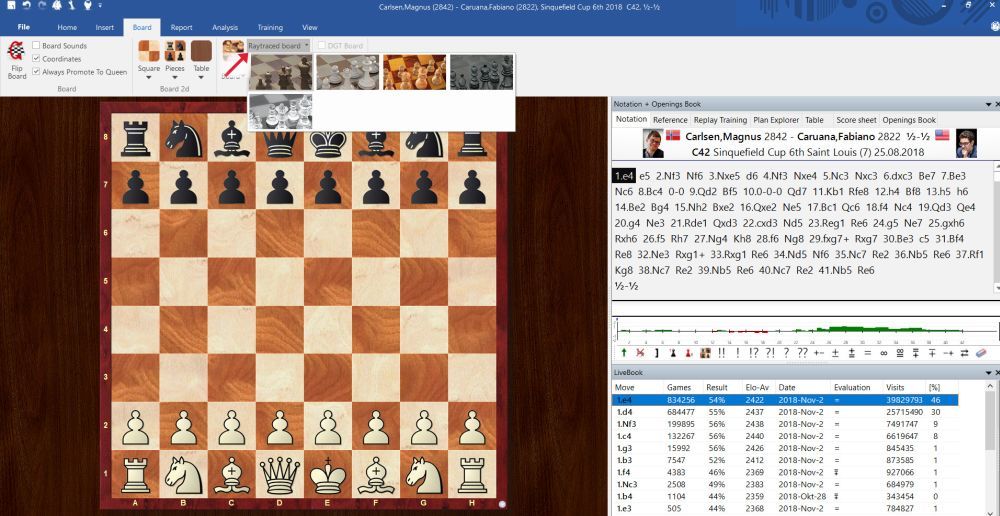
The image with the last used settings begins to render:
Raytrace Settings
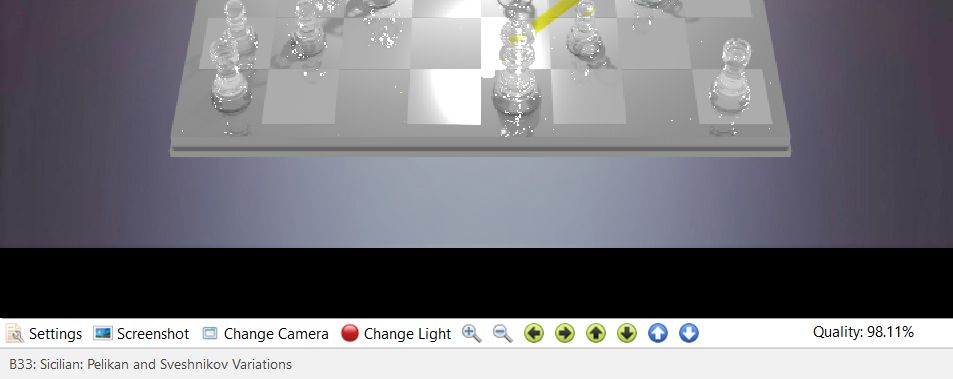
To speed up the raytracing process, you can choose a rather low resolution, for example, 320 x 200 (pixels). Once you have found a camera setting that suits you, you can then set the resolution higher again. The camera settings you select will be saved later by the program.
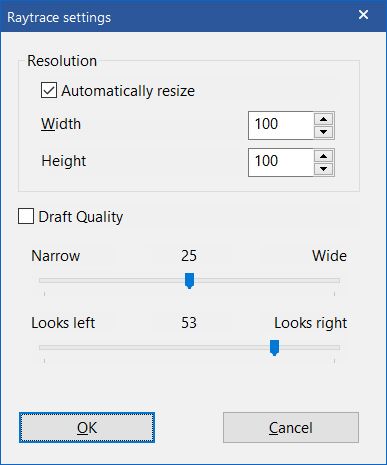
Draft Quality: This setting is intended to approximately prepare the resolution during the design phase of the position that you want to create without having the program calculate the fine raytracing at each step. This saves time during the design phase and then uncheck it when you are ready to render your final screenshot.
Similarly, if you make the board window itself smaller and/or narrower, the calculation time for the raytracing graphic will be reduced. Of course, you will also have a smaller image or a smaller section, but if you only need a small graphic you can save time.
The program saves the settings automatically and you can also save several of your own templates on the hard disk.
Narrow ⟷ Wide: This setting defines the field of view for the camera. In the default setting, the board appears in the vanishing point perspective and it looks wider in the front part than in the rear part. If you don't like this or if you want a slightly different effect change the setting by moving the slider between "Narrow" and "Wide" until you get the desired view.
Looks left ⟷ looks right: Here you can define in which direction the knight looks for artistic effect; depending on your camera angle it can be more beautiful and interesting than seeing just the back of the knight.
Camera settings
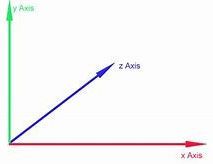
The coordinate system uses approximately 2.5 units corresponding to one square on the board.
Gaze Position
- Gaze position: Seen from the perspective of the camera.
- The Y-axis affects the height.
- The Z-axis: with a positive value the board moves into the screen, with a negative value it moves out of the screen.
- The X-axis affects the horizontal alignment.
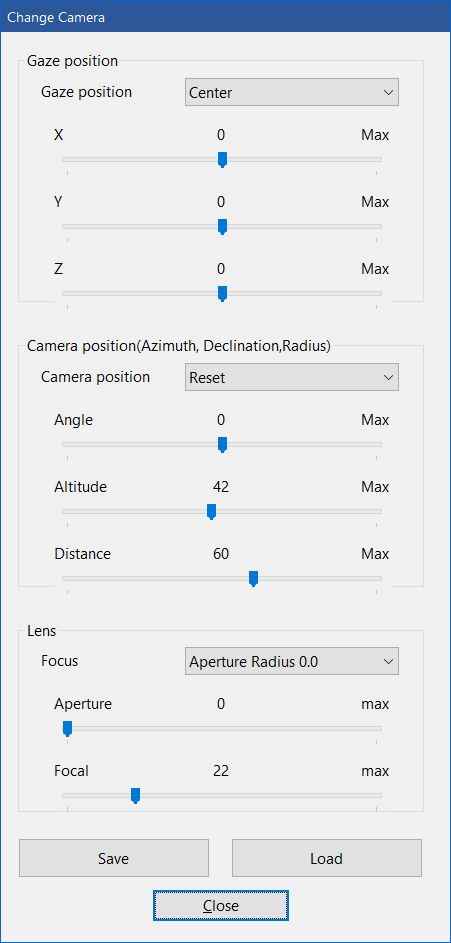
Camera position
This section specifies the location of the camera, relative to its gaze.
- Reset brings the camera back to the neutral position in front of the board
- Angle adjusts the rotation of the board relative to the camera
- Increasing the altitude lifts the camera relative to the plane of the board
- Distance is the distance between the camera and the target point — increasing the distance moves away from the board
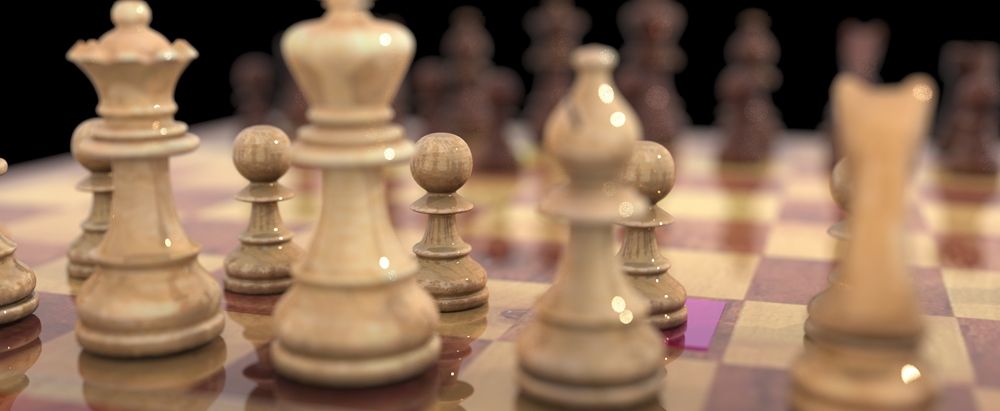
Focusing the lens / Depth of field
- Use the slider to the right or use one of the default settings, to adjust the virtual lens aperture, which controls the depth of field
- Move the focal point
The wider the opening (aperture), the stronger the effect. After setting the aperture of the lens you can click on the square that you want to have in focus.
Create a nice "portrait" of your winning knight! You can adjust camera settings and light to put one piece in focus and all other pieces and the board in "bokeh".
Light settings
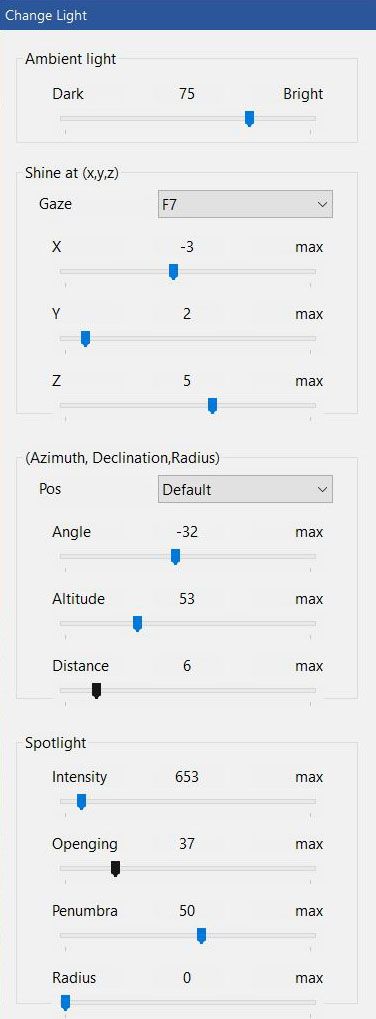
The ambient light behaves like daylight. The higher the intensity of the ambient light is set, the brighter and more luminous the pieces appear on the board.
Shine at (x,y,z)
Gaze allows you to target the light at a specific square on the chessboard, automatically setting the X,Y and Z parameters accordingly. You can also make manual adjustments.
Position
There are several (Pos) preset options to adjust the azimuth, declination and radius of the light. For example:
- Top down: An intensive light, shining directly from above
- From Queenside: The light comes from the queenside and throws shadows
- Towards Queenside: A spotlight that shines from the centre of the board to the queenside
The spot can also be fine-tuned manually by adjusting the individual parameters for angle, altitude and distance.
Spotlight
Intensity controls the brightness of the spotlight, while opening angle governs the width of the beam (in degrees); outside of the spot there is basically no other light from this direction, however, the ambient light can be regulated separately from the spot for the illumination of the scene as a whole.
The Penumbra angle is the area between the full spotlight and the full shadow outside of the spot. This area should be smaller than half of the opening angle to have any effect.
You can think of it as the edge feathering of the light.
Hint: Especially impressive effects are obtained by slightly dimming the ambient light and placing a spotlight on the board. The spot can either be directed to the centre of the board (automatic basic setting) or to a certain piece/square.
A "portrait" of a knight is even more impressive when you turn the knight to the side.

Adjustments
Below the board image, there are several icons which provide an alternative way to move the camera to the desired position in the three-dimensional space.
- Magnifier + zooms in (the board comes closer)
- Magnifier - zooms out (the board moves away from the camera)
- ← Rotate the scene to the left (equivalent to camera angle)
- → Rotate the scene to the right
- ↑ Rotate the scene up (equivalent to camera altitude)
- ↓ Rotate the scene down
- White up arrow on blue moves the board up
- White down arrow on blue moves the board down
You can also use the scrolling wheel of the mouse to zoom in or out. You can right-click and drag to manipulate the board in space as well, much like with the 3D Boards (non-raytraced).
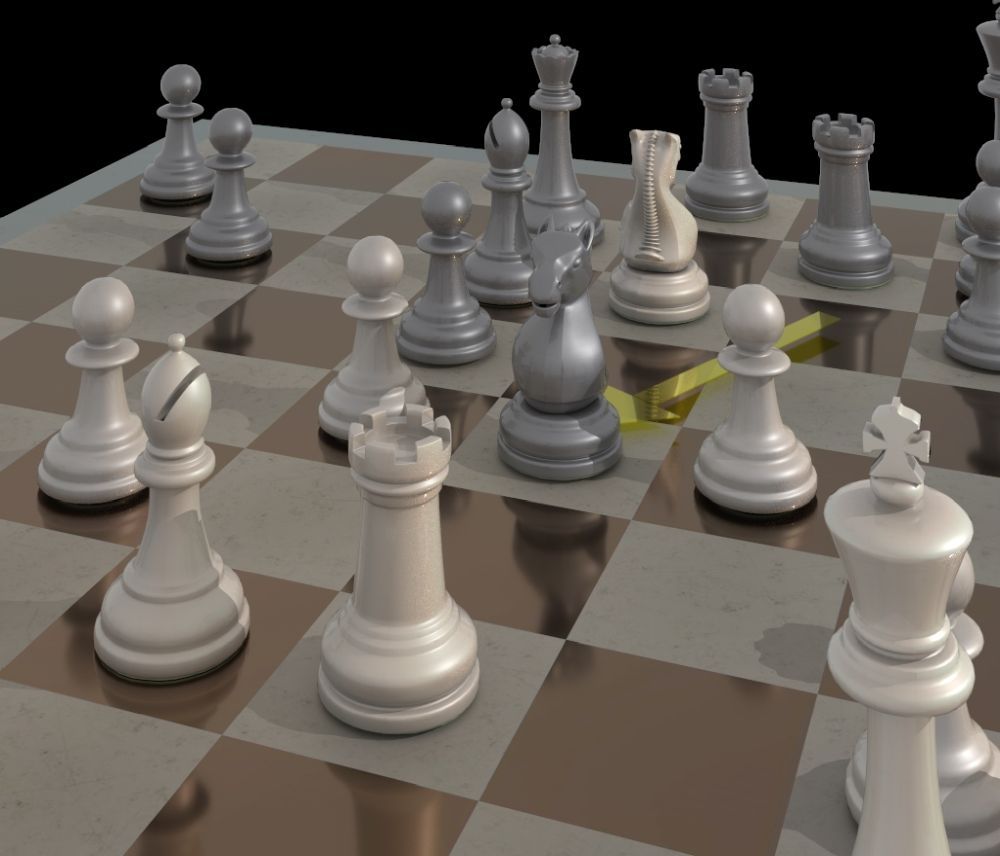
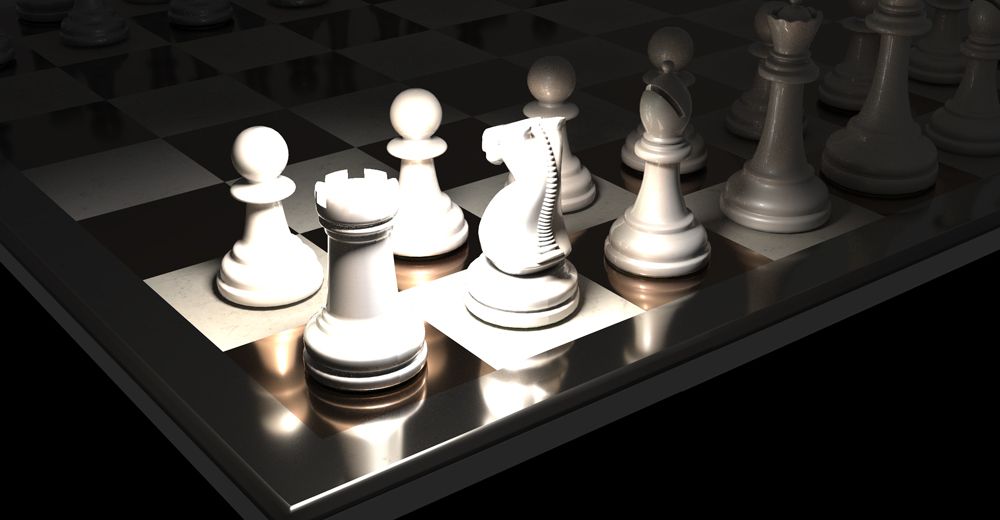
Examples
Here are some examples we have rendered, showing the range of possibilities available to you.

You own your art
Images produced by ChessBase 15 carry another big advantage over commercial chess graphics: it is not subject to any copyright restrictions. You can create as many graphics as you like and use them where, as often and for as long and you like!
Of course, you can also use the graphics to share them on Instagram, Twitter, Facebook, and more. You can also print the graphics and hang them on the wall, or give a picture of the most beautiful game of your daughter or son to grandma and grandpa!
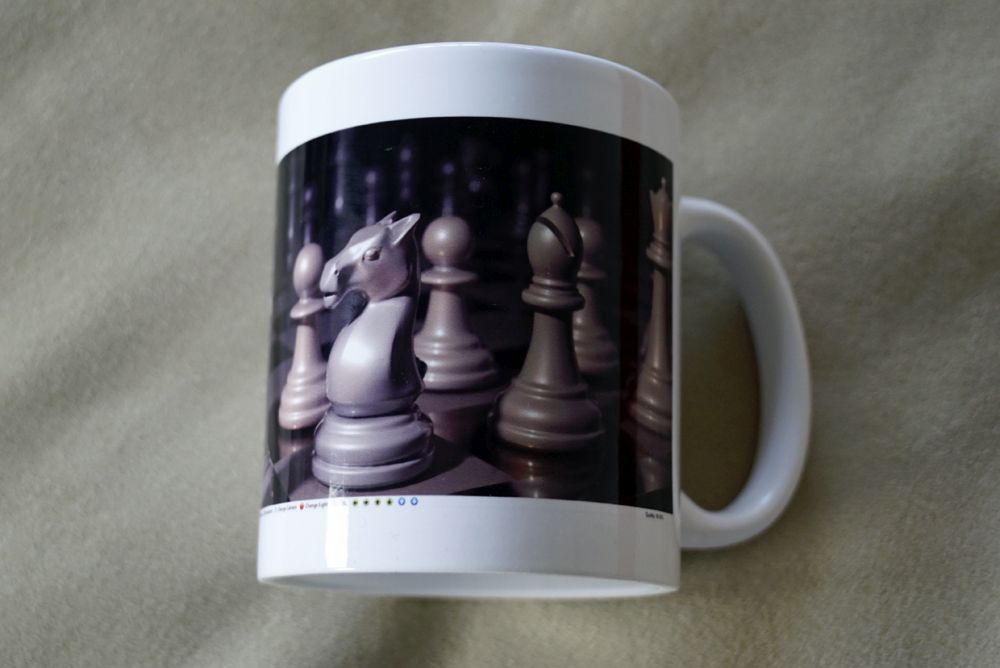
Or perhaps you'd like to print a cup or T-shirt with your favourite raytracing motif!
Follow live games within Playchess
The raytracing view is not suitable for playing a game on the playchess server, but it can be used to follow a live broadcast, as there is usually enough time between moves for the graphics to adapt.
Of course, the normal 3D graphics from ChessBase 15 also have a high visual quality with far faster performance the graphic always looks good immediately, while the raytracing graphics superb quality needs a moment until the calculation results in a pixel-free image. Nevertheless, you will quickly notice how beautiful and realistic a raytracing view is: photorealistic, with shadows, light reflections and refractions. A treat for the eye!
About the Author
Chief editor Spanish ChessBase website es.chessbase.com, tutorials, marketing.
Related News

Improve your planning and understanding

Endgame training with the ChessBase Magazine

Studying openings with the ChessBase Magazine, II: Creating a repertoire database

Training with ChessBase 15: Creating interactive training tasks

How to train with ChessBase 15

Tutorial CB 15: Finding critical moves (1)

Fun and instructive: the new search mask in ChessBase 15

Organizing databases in ChessBase 15

Preparation made easy: the ChessBase 15 Playerbase

ChessBase 15: Online help and manuals